Quit the app. Your shells keep running.
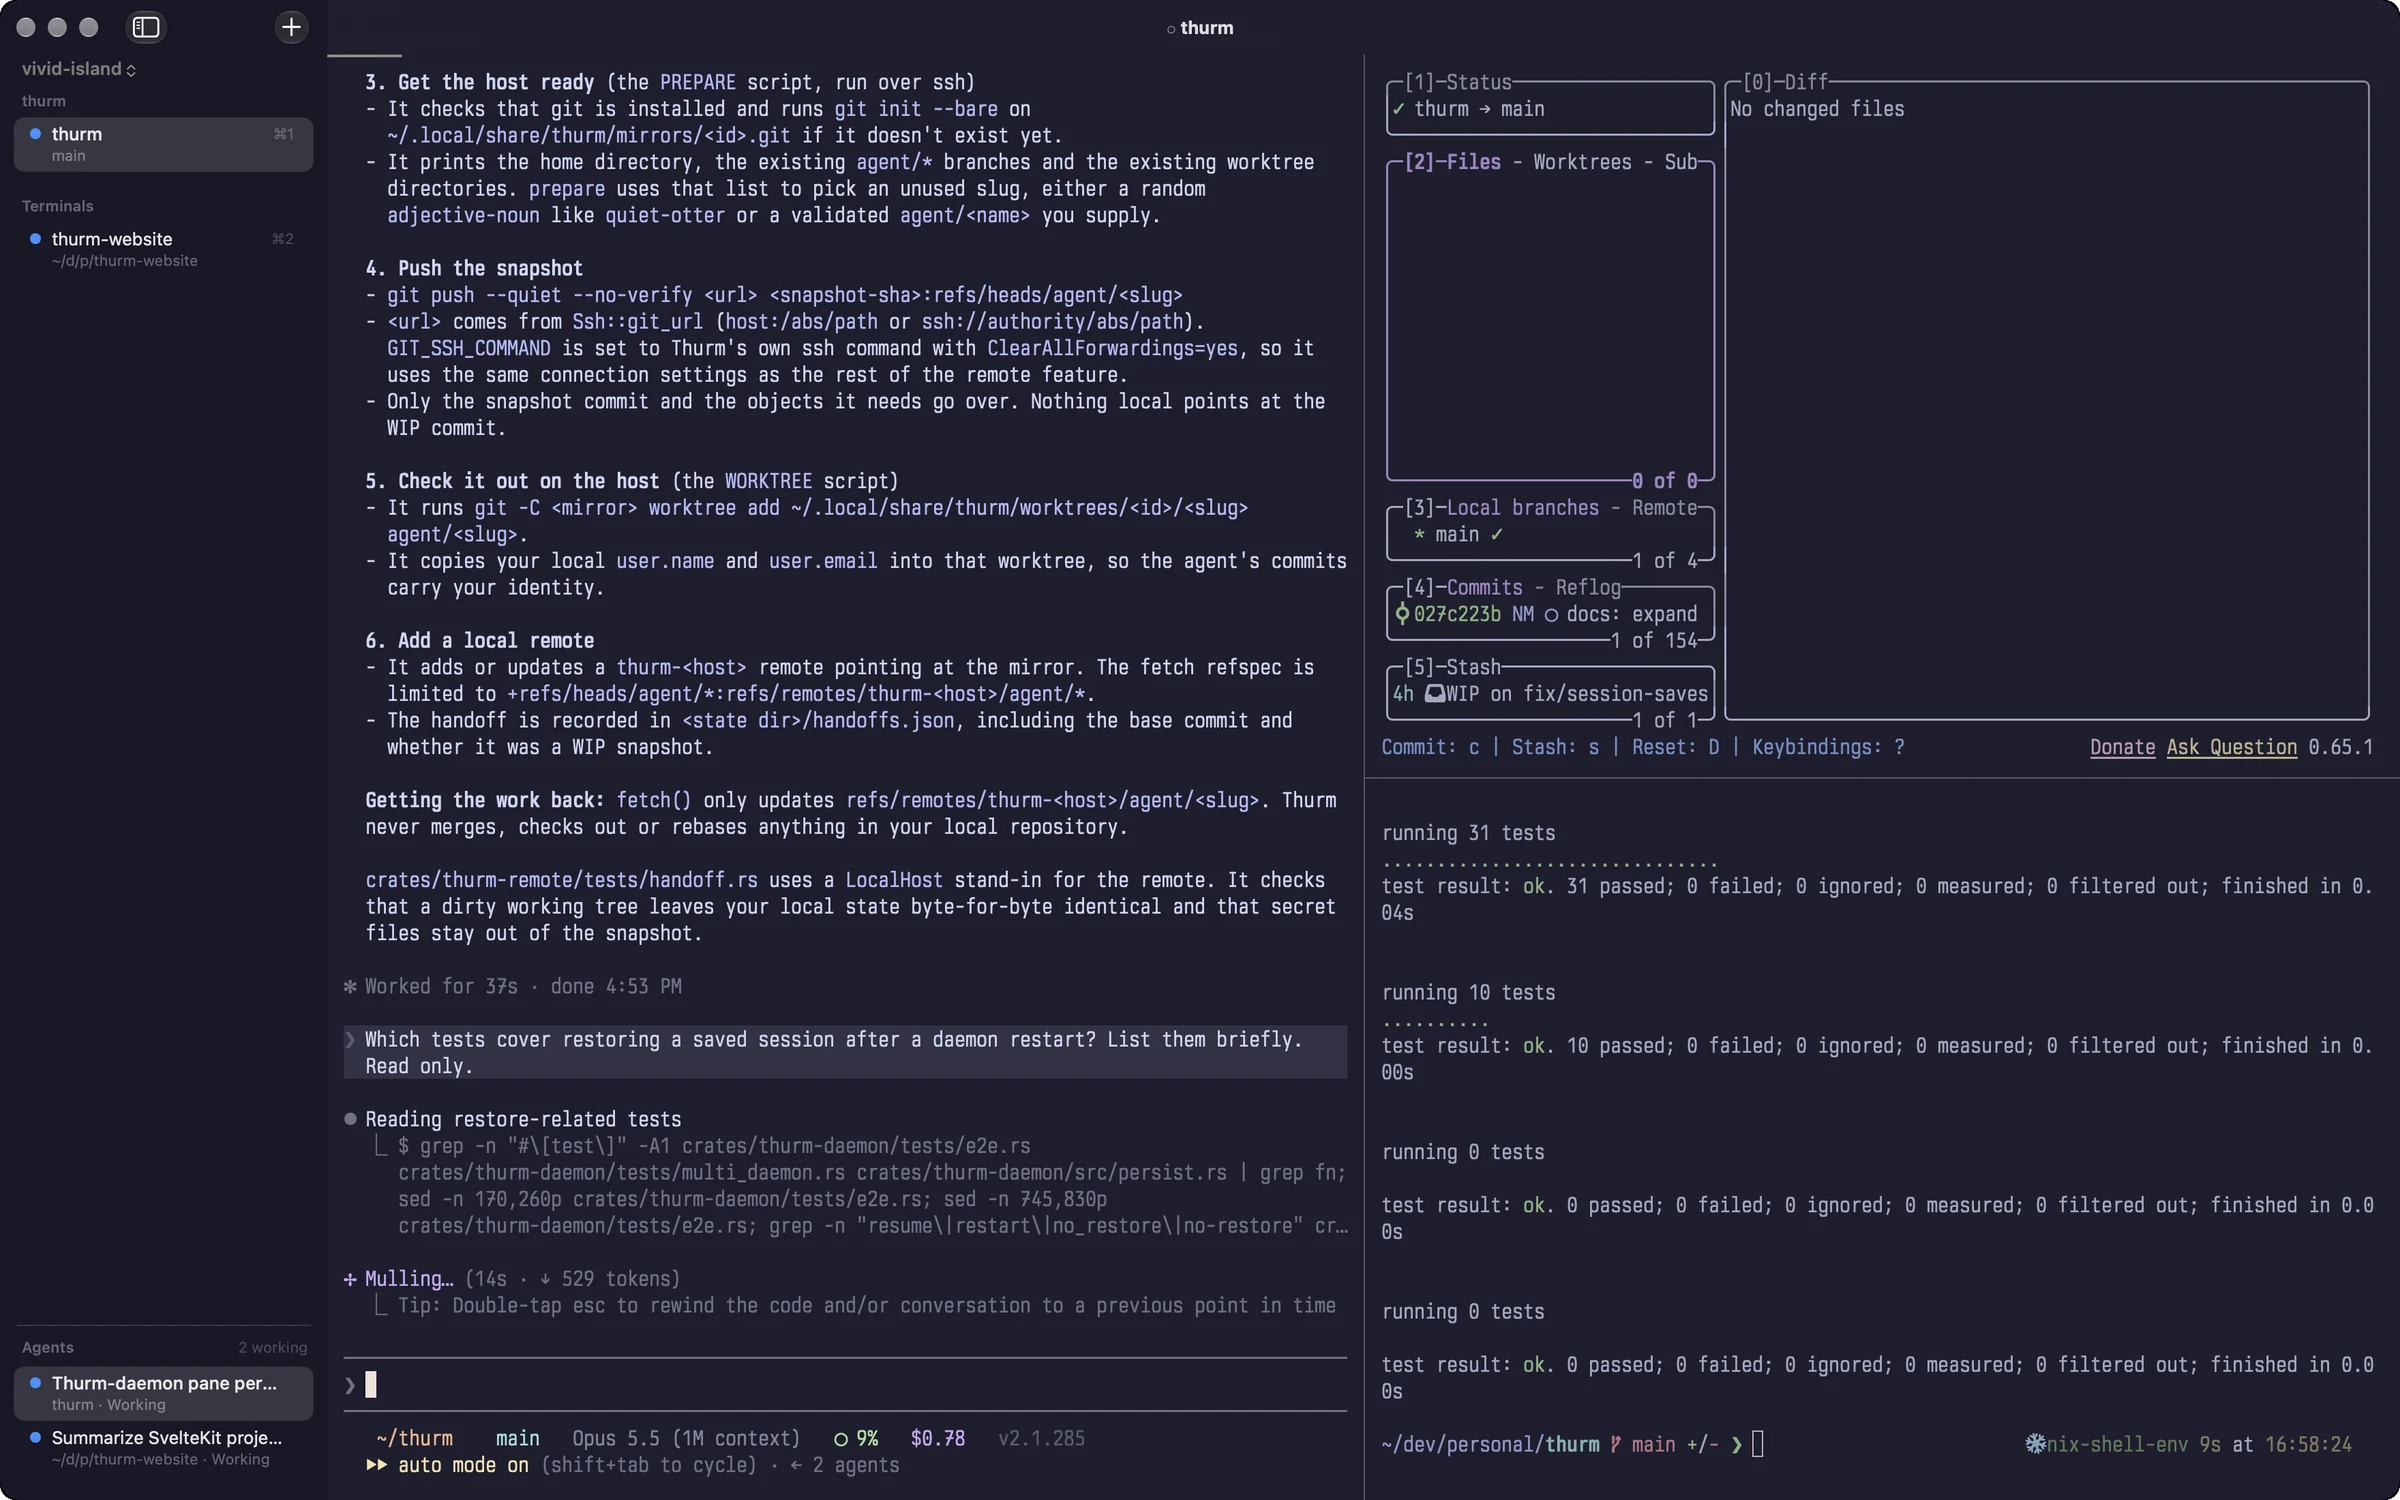
Thurm is a macOS terminal for shells and coding agents. A daemon runs your shells. When you quit the app, they continue to run.
Sessions stay open
When you quit the app, your shells continue to run.
Agent status
Thurm shows when an agent works, needs input, or is done.
Remote hosts
Remote tabs have the same splits, agent controls, and notifications as local tabs.
Scripts
The thurm CLI opens panes, sends input, reads output, and waits for results.
thurmd
Your shells run in a daemon, not in the app
The thurmd daemon owns the shell processes and the terminal state.
The app connects to the daemon and shows your session. When you quit the app, the processes
continue to run. Open Thurm again to connect to them.
Thurm also saves the layout, the working directories, and the scrollback to disk. It saves
a snapshot every 15 seconds and keeps up to 4,000 lines for each pane. To save a snapshot
now, run thurm save.
⇧⌘A · agent switcher
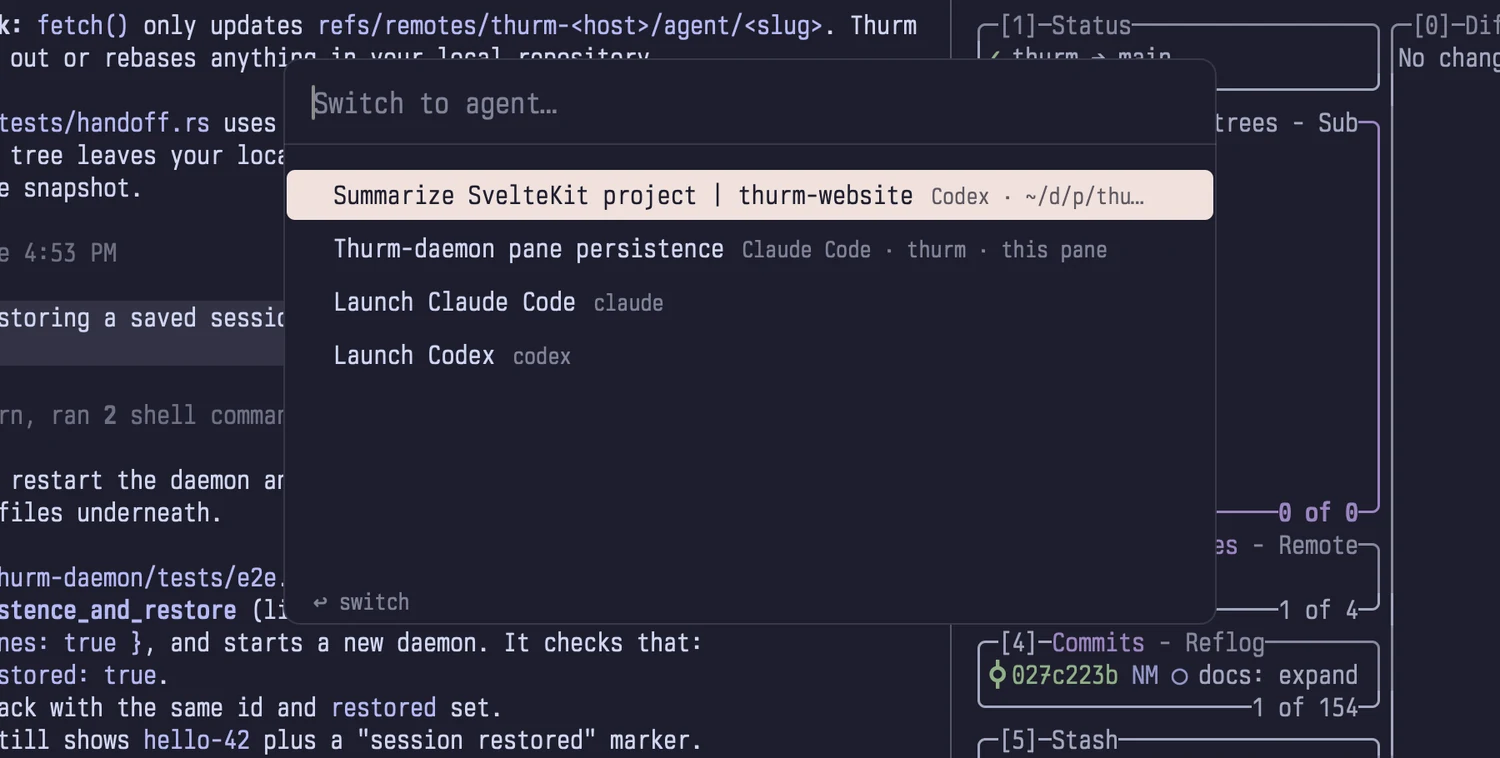
See which agent needs input
Thurm finds supported agents and shows their status. Use the agent switcher to go to an agent. Use a preset to start an installed agent.
- Working
- Needs input
- Done
- Idle
Hooks for Claude Code and Codex
The hooks report when a turn ends and the session ID. Thurm uses this data for notifications, session titles, and commands that wait for a turn to end. With a session ID, you can fork a conversation into a new tab or split.
Approve from the notification
Thurm sends agent notifications for panes that do not have focus. A Claude Code permission request has Approve and Deny buttons in the notification.
Built-in agent definitions
- Claude Code
- Codex
- Gemini CLI
- Aider
- OpenCode
You can add your own definitions and presets. Thurm uses the agent tools that are installed on your Mac.
thurm presets
thurm launch Codex --split right
thurm agents
thurm wait --pane 4 --agent-done
⇧⌘O · workspace switcher
Tabs, splits, and workspaces
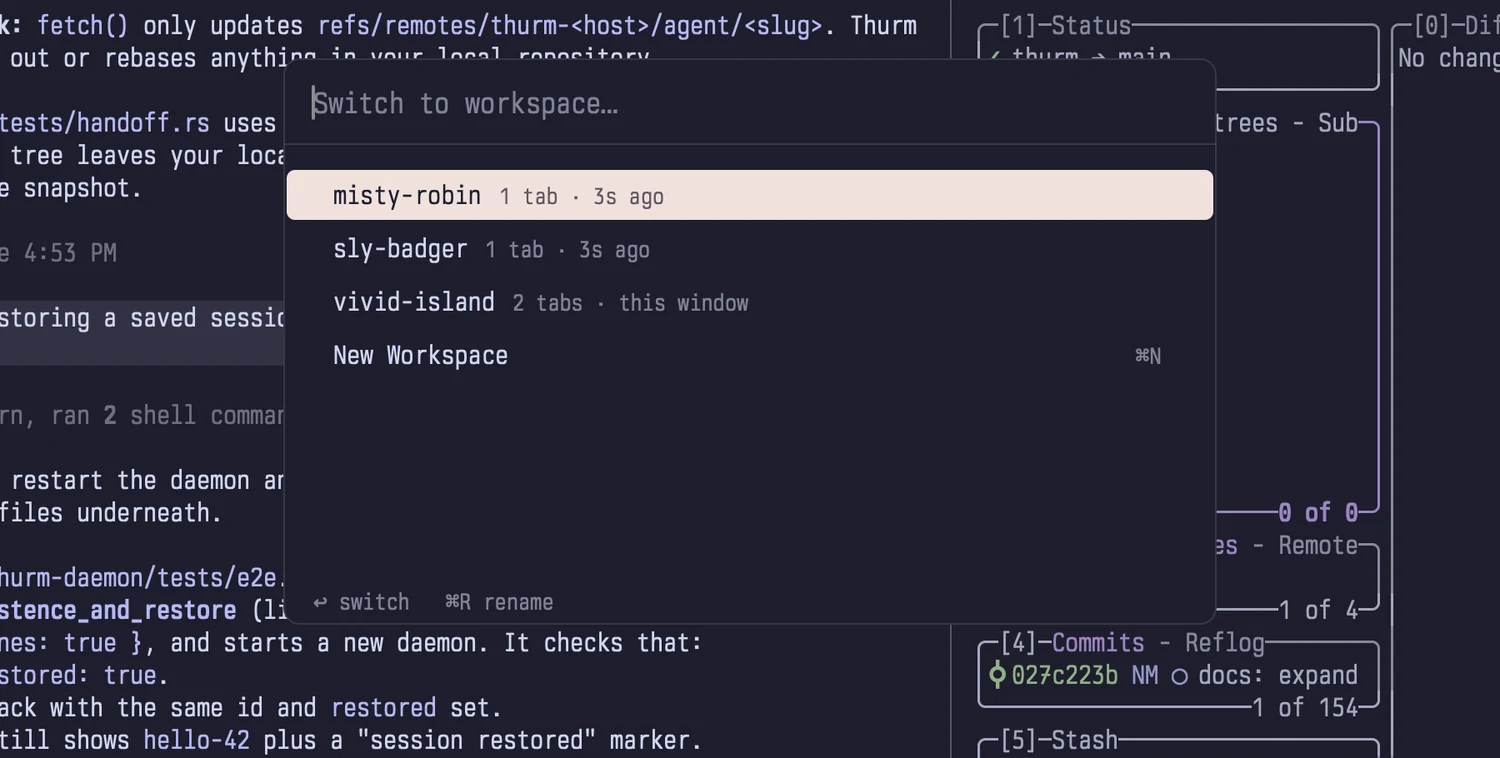
Use a workspace for each project. Use tabs and splits in each workspace. Show tabs in the native tab bar or in a sidebar that groups them by repository. Shells in hidden workspaces continue to run.
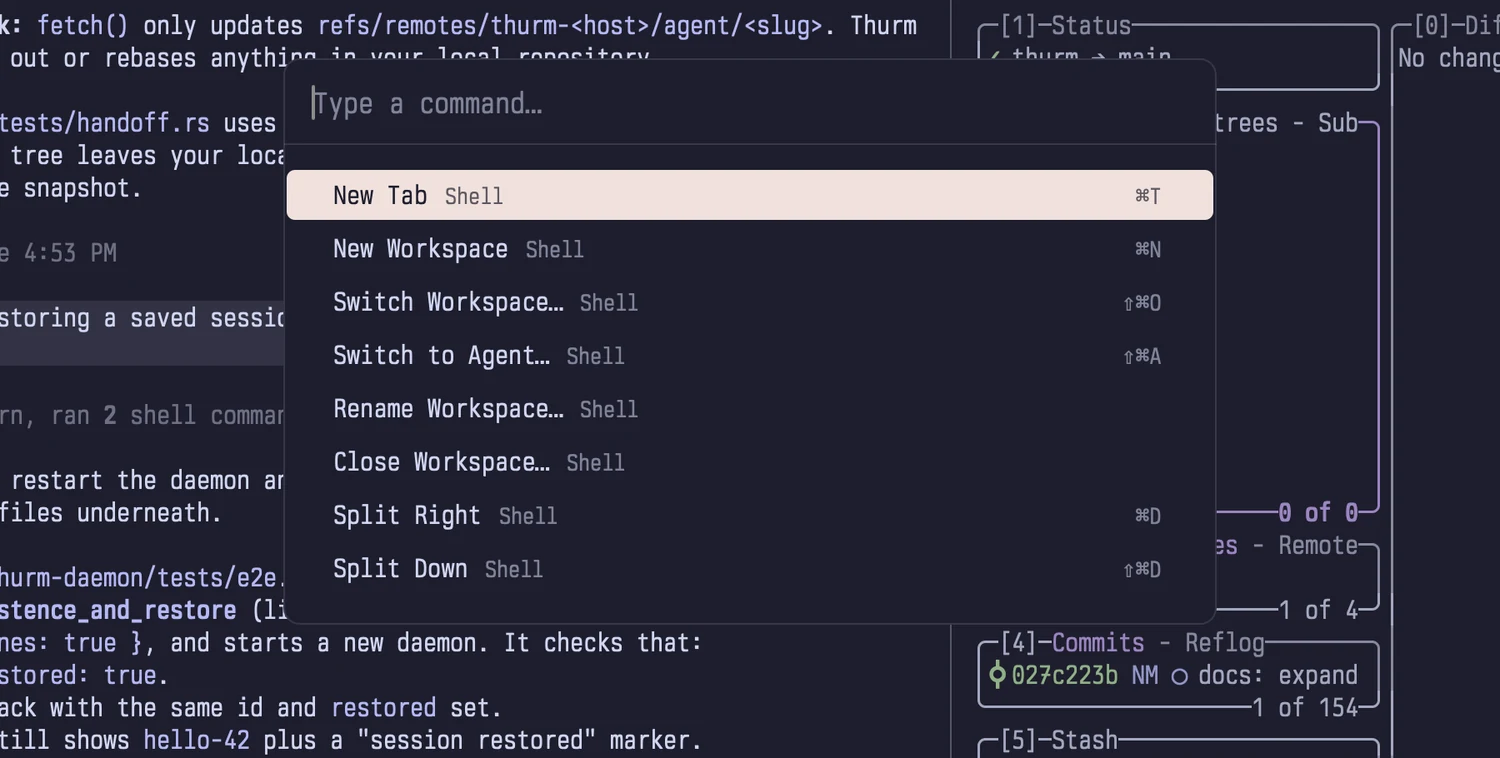
- New tab ⌘T
- New workspace ⌘N
- Split right ⌘D
- Split down ⇧⌘D
- Move between panes ⌥⌘←→
- Zoom a pane ⇧⌘↩
- Command palette ⇧⌘P
- Workspace switcher ⇧⌘O
- Agent switcher ⇧⌘A
- Search scrollback ⌘F
Quick Terminal
Window › Quick Terminal opens a shell that you can use from all apps. You can set a global shortcut, the screen, the position, and the size. The shell continues to run when the Quick Terminal is hidden.
thurm remote
Run sessions on a remote host
Connect to a Linux host or a Mac over SSH. Each host shows as a remote workspace. The processes on the host continue to run when your Mac sleeps, changes networks, or quits Thurm. The app connects again when the host is available.
Thurm uses the system SSH client and your SSH configuration. You do not need a Thurm account or a relay service. Agent forwarding is off.
Thurm.app
local thurmd
thurmd
agent working
Give a repository to a remote agent
- step 1
Snapshot
Thurm makes a Git snapshot of the repository. The snapshot includes uncommitted changes and untracked files. It does not include ignored files.
- step 2
Branch and worktree
Thurm sends the snapshot to a new branch and worktree on the host. Your local working tree, index, and stash do not change.
- step 3
Remote agent
The agent works in the remote worktree, in a remote tab. You can continue your local work.
- step 4
Review
Thurm gets the committed results. You review and merge them. Thurm does not merge into your local branch.
thurm remote add devbox [email protected]
thurm remote doctor devbox
thurm handoff --remote devbox --preset claude
Before you connect, set up SSH key access and accept the host key. The add command
checks the host and can install Thurm on it. Thurm does not copy ignored files, for
example .env and node_modules. Remote guide
thurm split · send · wait · capture
Control Thurm from scripts
Scripts and agents use the CLI to control the same panes that you see in the app. Open a split, send input, wait for a prompt or a match, and read the screen.
When a wait times out, the exit code is 124. Add --json to get structured
output.
pane=$(thurm split --dir right)
thurm wait --pane "$pane" --prompt --timeout 10
thurm send --pane "$pane" 'bun run build'
thurm wait --pane "$pane" --prompt --timeout 60
thurm capture --pane "$pane" -n 20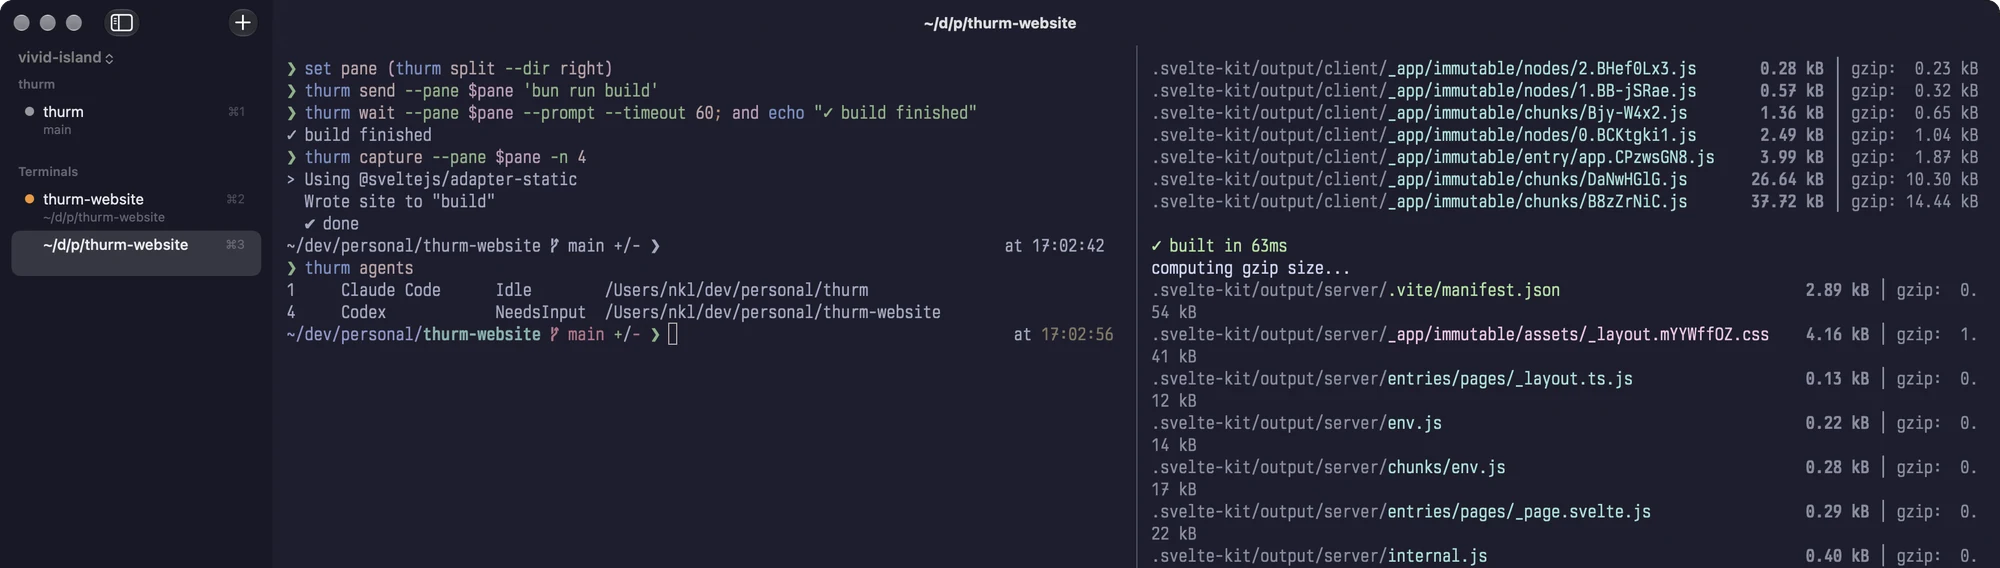
AppKit · Metal · libghostty-vt
Terminal features
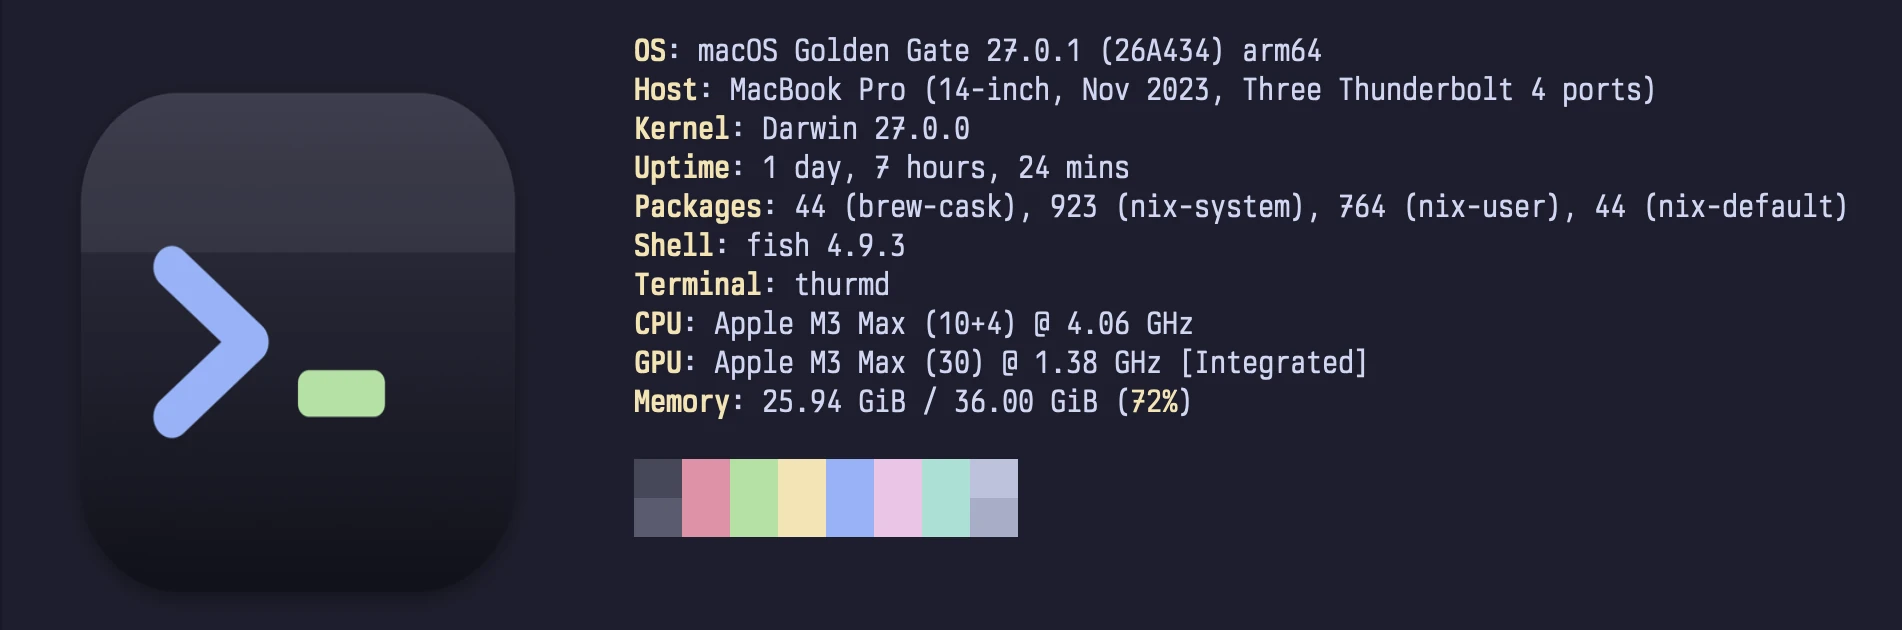
The interface uses AppKit. Metal and CoreText draw the text and images. libghostty-vt keeps the terminal state.
Shell integration
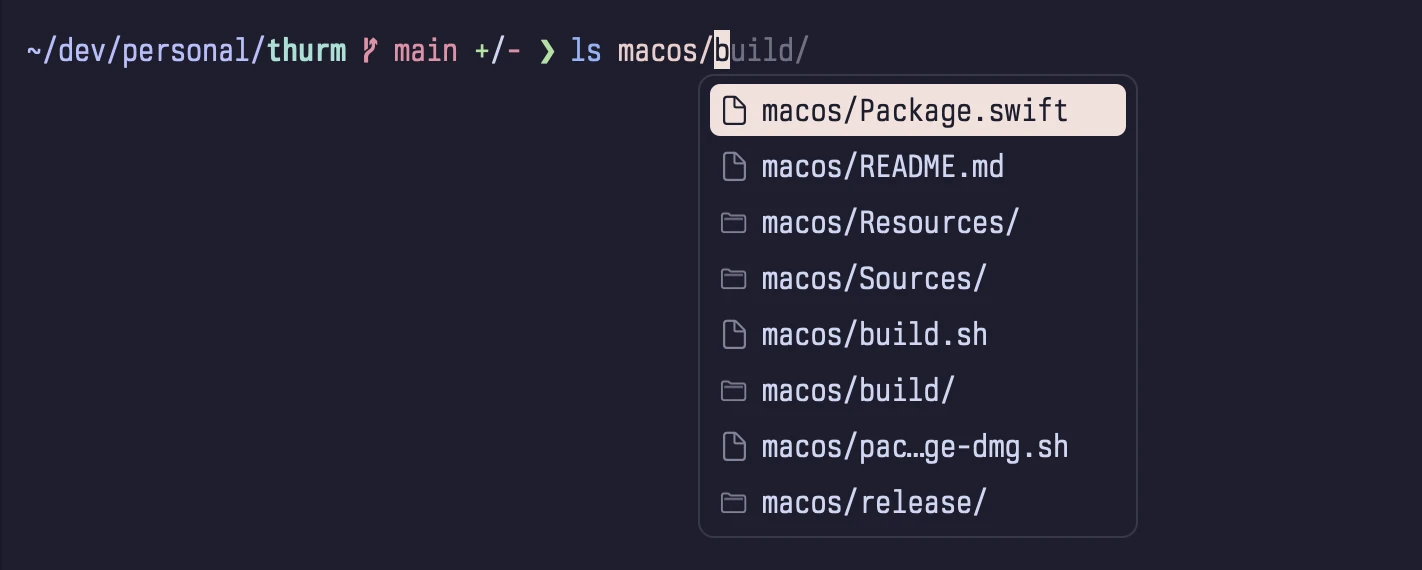
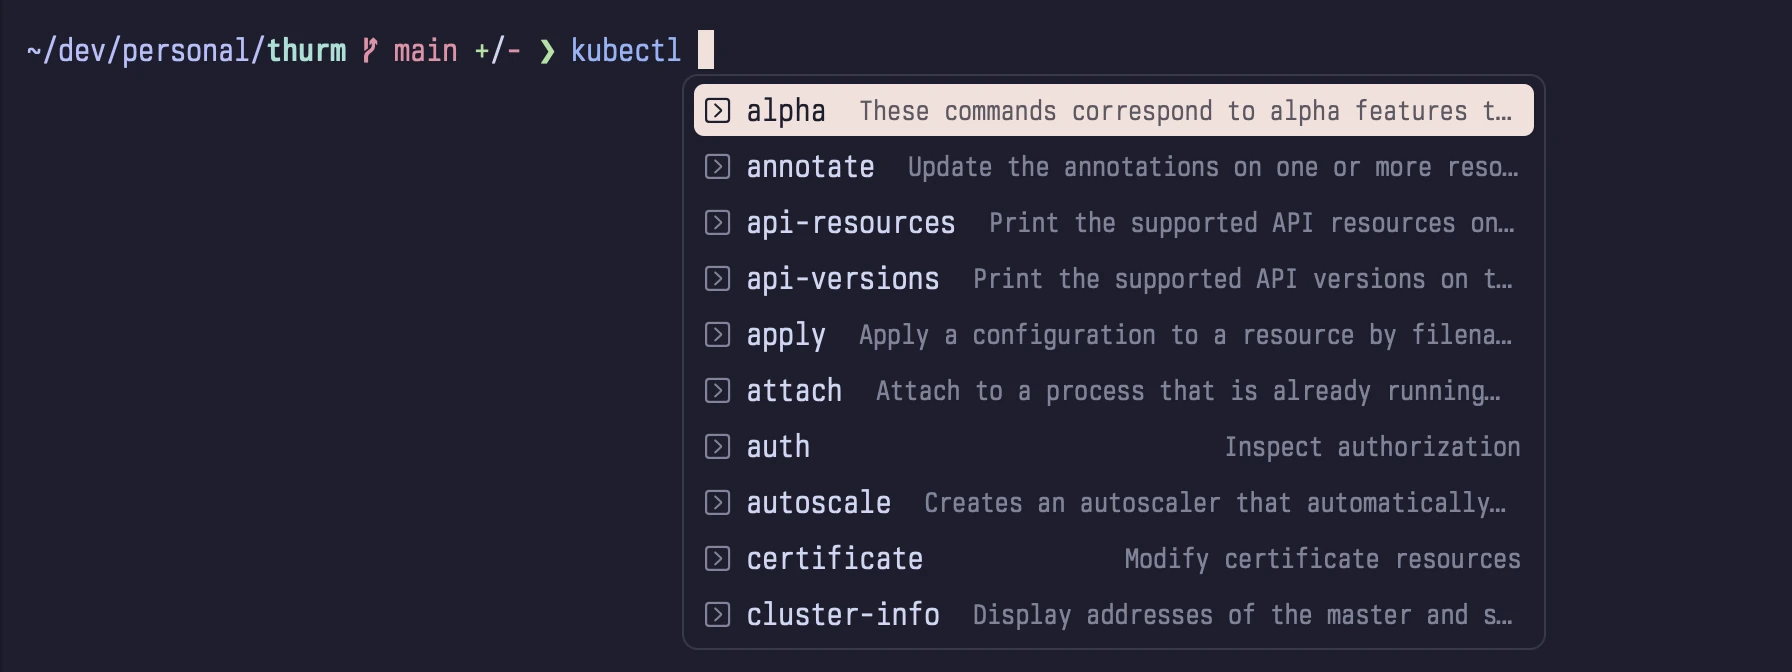
Prompt marks, working directory tracking, and completions for zsh, bash, and fish.
Text and images
Font ligatures, JetBrains Mono and Nerd Font symbols included, and the kitty keyboard and graphics protocols.
Navigation
Scrollback search, prompt-to-prompt navigation, and Cmd+click to open URLs.
Appearance
Themes, light and dark themes that follow the system, font settings, and custom key bindings.
Input protection
Secure Keyboard Entry turns on at password prompts. Thurm asks before it pastes multiple lines outside bracketed paste mode.
Notifications
Alerts for agents. Alerts for commands that run 15 seconds or more in a pane without focus.
optional · off by default
On-device Apple Intelligence
Requires macOS 26 or later and Apple Intelligence. The model runs on your Mac. It does not run while a password prompt is active. You can turn each feature on or off.
- ›Name agent tabs from the task
- ›Find unanswered questions for agents without hooks
- ›Summarize agent notifications
- ›Explain the last command
config.toml
Configuration
Thurm reads ~/.config/thurm/config.toml. All settings are
optional. After you edit the file, run thurm reload. You can
also set a value and reload with one command.
thurm set font.size 14.0
thurm theme nord
thurm reload[font]
size = 14.0
ligatures = true
[window]
tab_style = "sidebar"
[colors]
theme = "light:catppuccin-latte,dark:catppuccin-mocha"
[session]
quit = "detach"
[quick_terminal]
hotkey = "ctrl+grave"
position = "top"Install Thurm
- 1 Download Thurm.dmg.
- 2 Open the disk image. Drag Thurm to Applications.
- 3 Eject the disk image. Open Thurm from Applications.
- 4 To install the CLI, select Thurm › Integrations › Install Command-Line Tool.
Then run
thurm --help.